Project: Deploying "Date App" with DevOps Tools

Enthusiastic about DevOps tools like Docker, Kubernetes, Maven, Nagios, Chef, and Ansible and currently learning and gaining experience by doing some hands-on projects on these tools. Also, started learning about AWS and GCP (Cloud Computing Platforms).
Step 1 - Launch an EC2 Instance on AWS
Launch EC2 Instance:
Log in to /the AWS Console, go to the EC2 dashboard, and click Launch Instance.
Select Ubuntu Server as the AMI, choose an instance type (e.g., t2.medium), and proceed through the configuration steps.
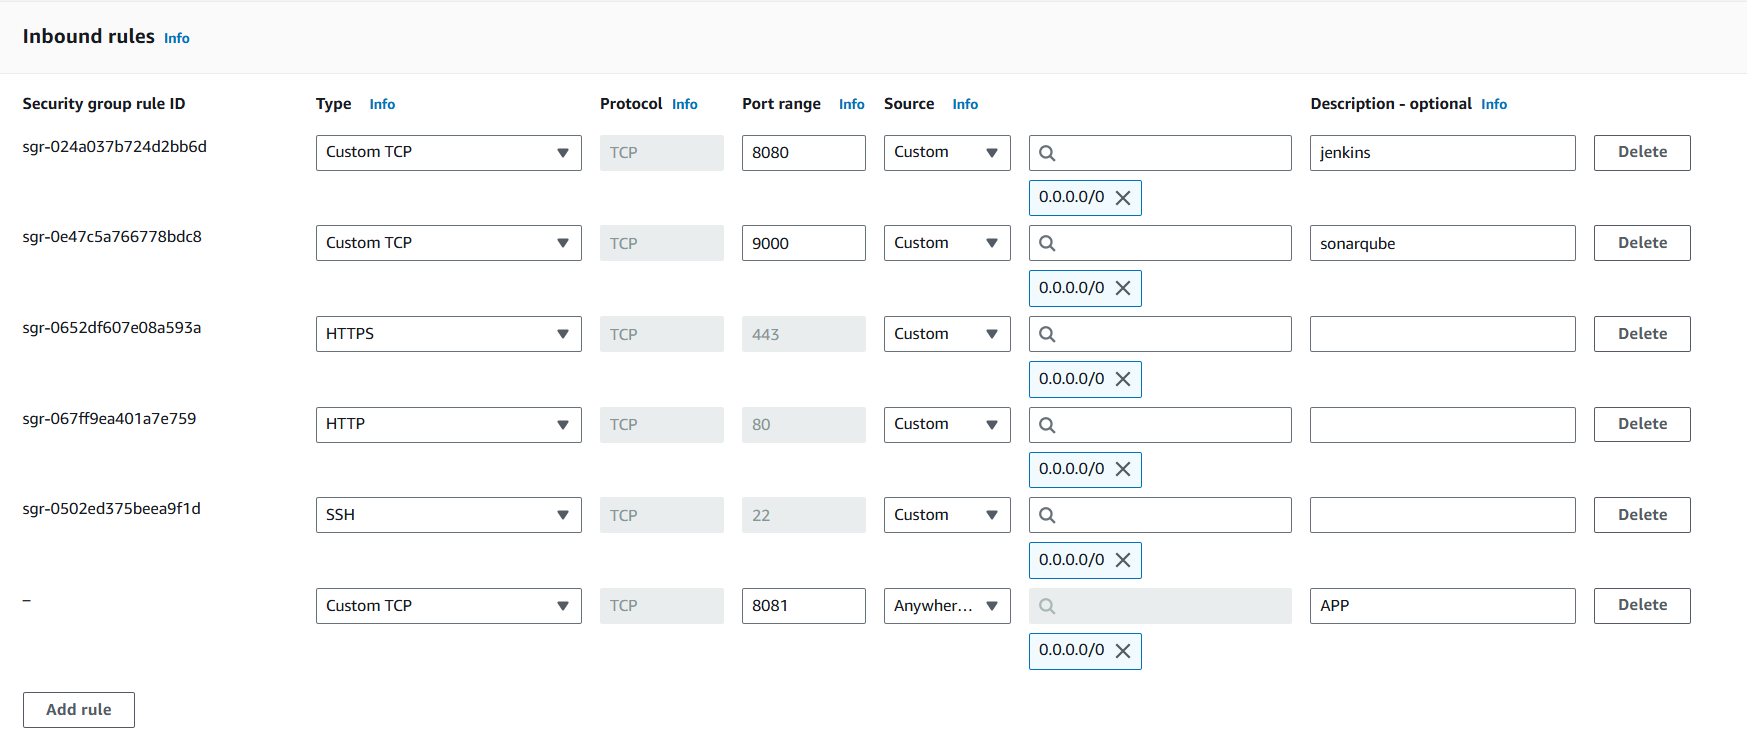
Configure Security Group:
Create or select a security group.
Add some inbound rule for specific tasks.
port 80 for HTTP request
port 443 for HTTPS request
port 22 for seamless SSH connection
port 9000 for SonarQube Server
port 8080 for Jenkins Server
port 8081 for our dating app
Review settings, launch the instance, and create/select a key pair for SSH access.
Connect to EC2:
SSH into your instance using the key pair.
Let’s connect to your ec2 via ssh using command “ssh -i “ubuntu.pem” ubuntu@ec2–54–197–62–157.compute-1.amazonaws.com”
Step 2 - Installing Jenkins file one the Instance
write the script for installing Jenkins
sudo apt install default-jre -y # Install JAVAvi jenkins.shsudo wget -O /usr/share/keyrings/jenkins-keyring.asc \ https://pkg.jenkins.io/debian-stable/jenkins.io-2023.key echo "deb [signed-by=/usr/share/keyrings/jenkins-keyring.asc]" \ https://pkg.jenkins.io/debian-stable binary/ | sudo tee \ /etc/apt/sources.list.d/jenkins.list > /dev/null sudo apt-get update sudo apt-get install jenkinsgive the permissions of executable file to
jenkins.shchmod +x jenkins.shExecute the script
./jenkins.shEnable the Jenkins Server
  systemctl enable jenkins
  systemctl status jenkins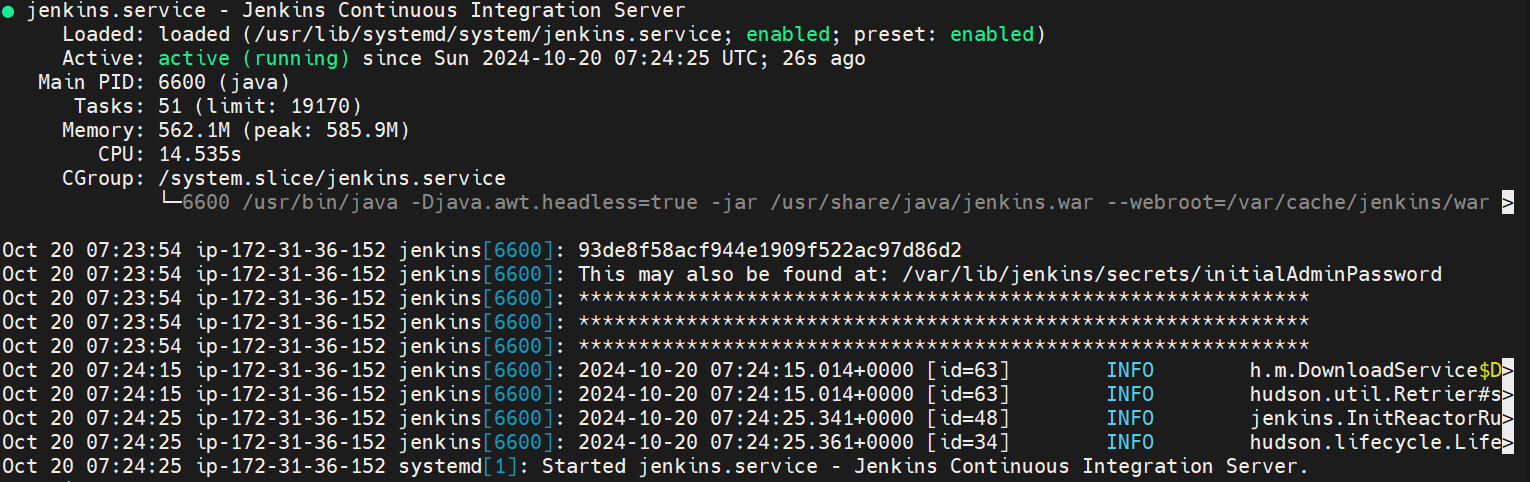
Step 3 - Install Docker and Start the SonarQube Container
Command for Installing and configuring Docker
  sudo apt install docker.io -y
  sudo chmod 666 /var/run/docker.sock
Check Docker
docker -v
Run the SonarQube Container
docker run -d -p 9000:9000 sonarqube:lts-community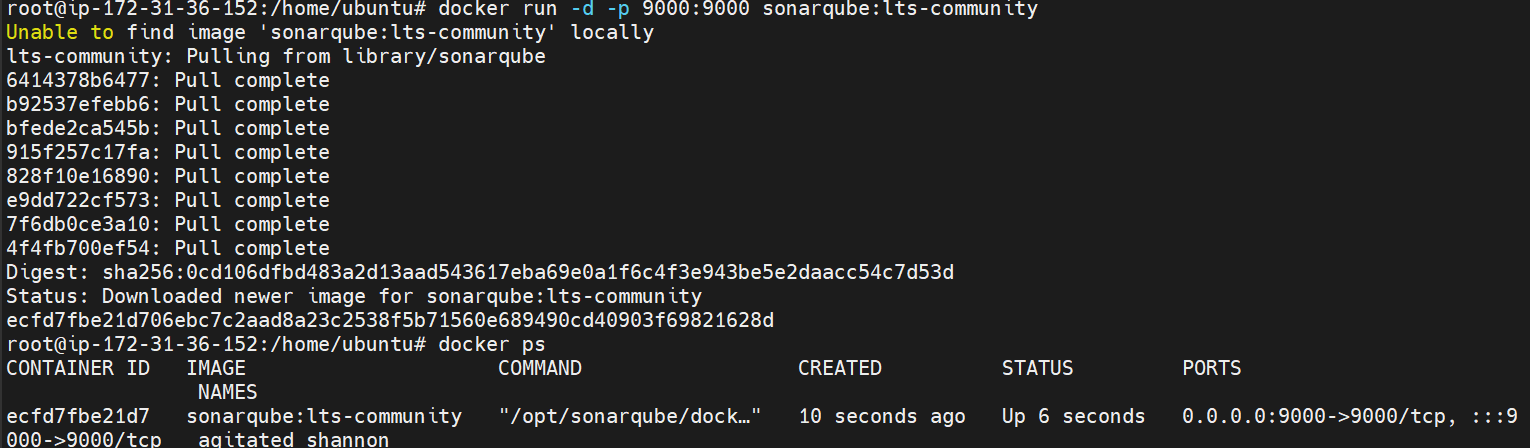
Step 4 - Access the SonarQube Server
Open the SonarQube Server with
public-ip:9000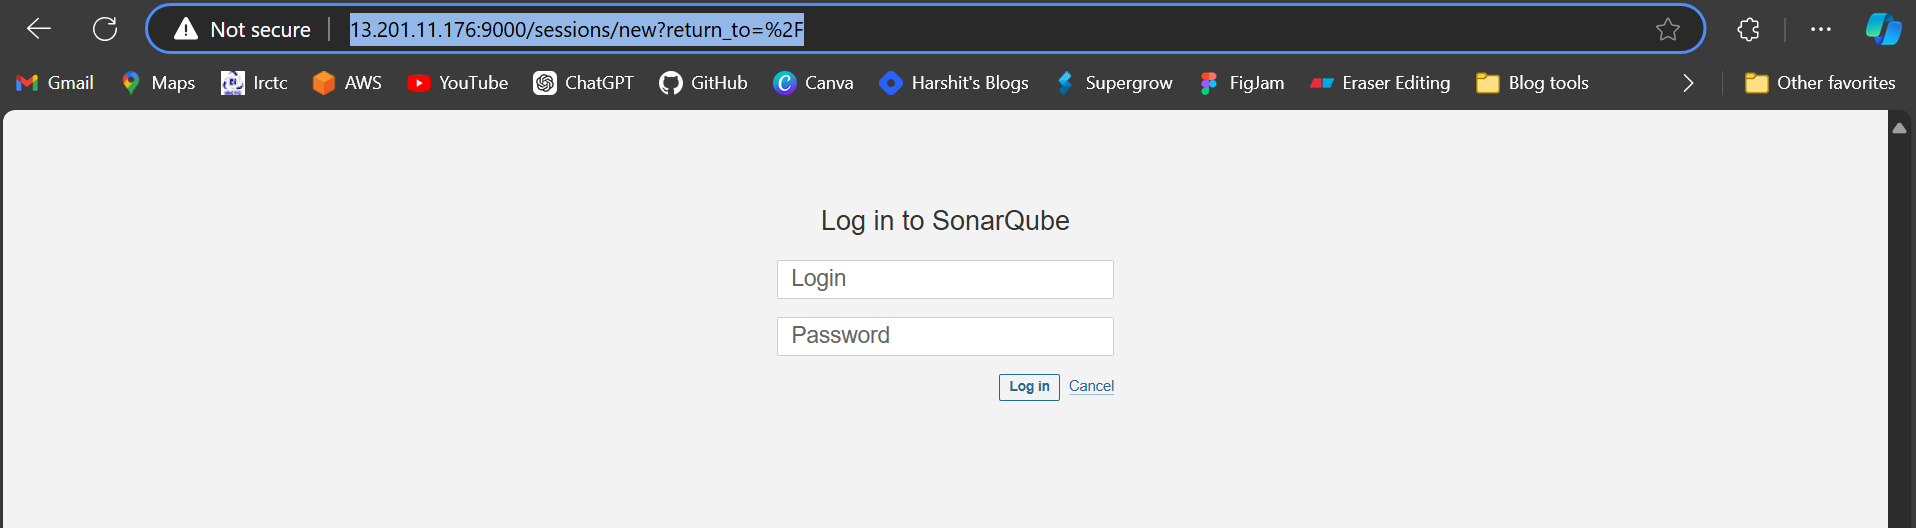
Initial Username - admin
Initial Password - admin
Set new password according to yourself
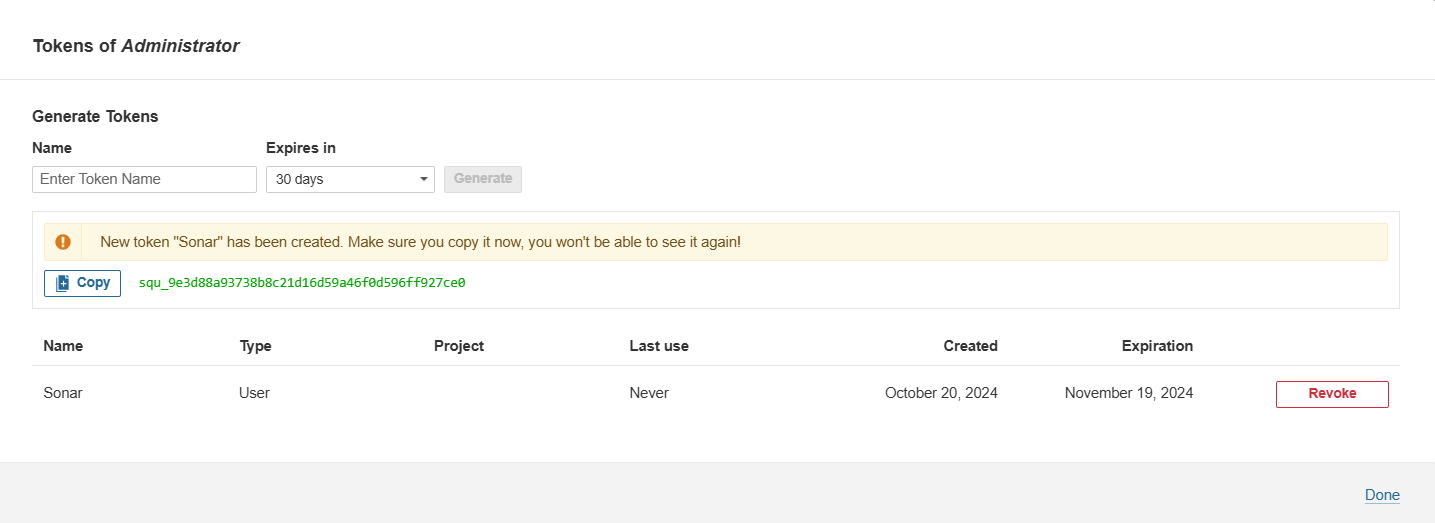
Go to
Administrationoption →Security→Users→Generate Token→ Copy the token ID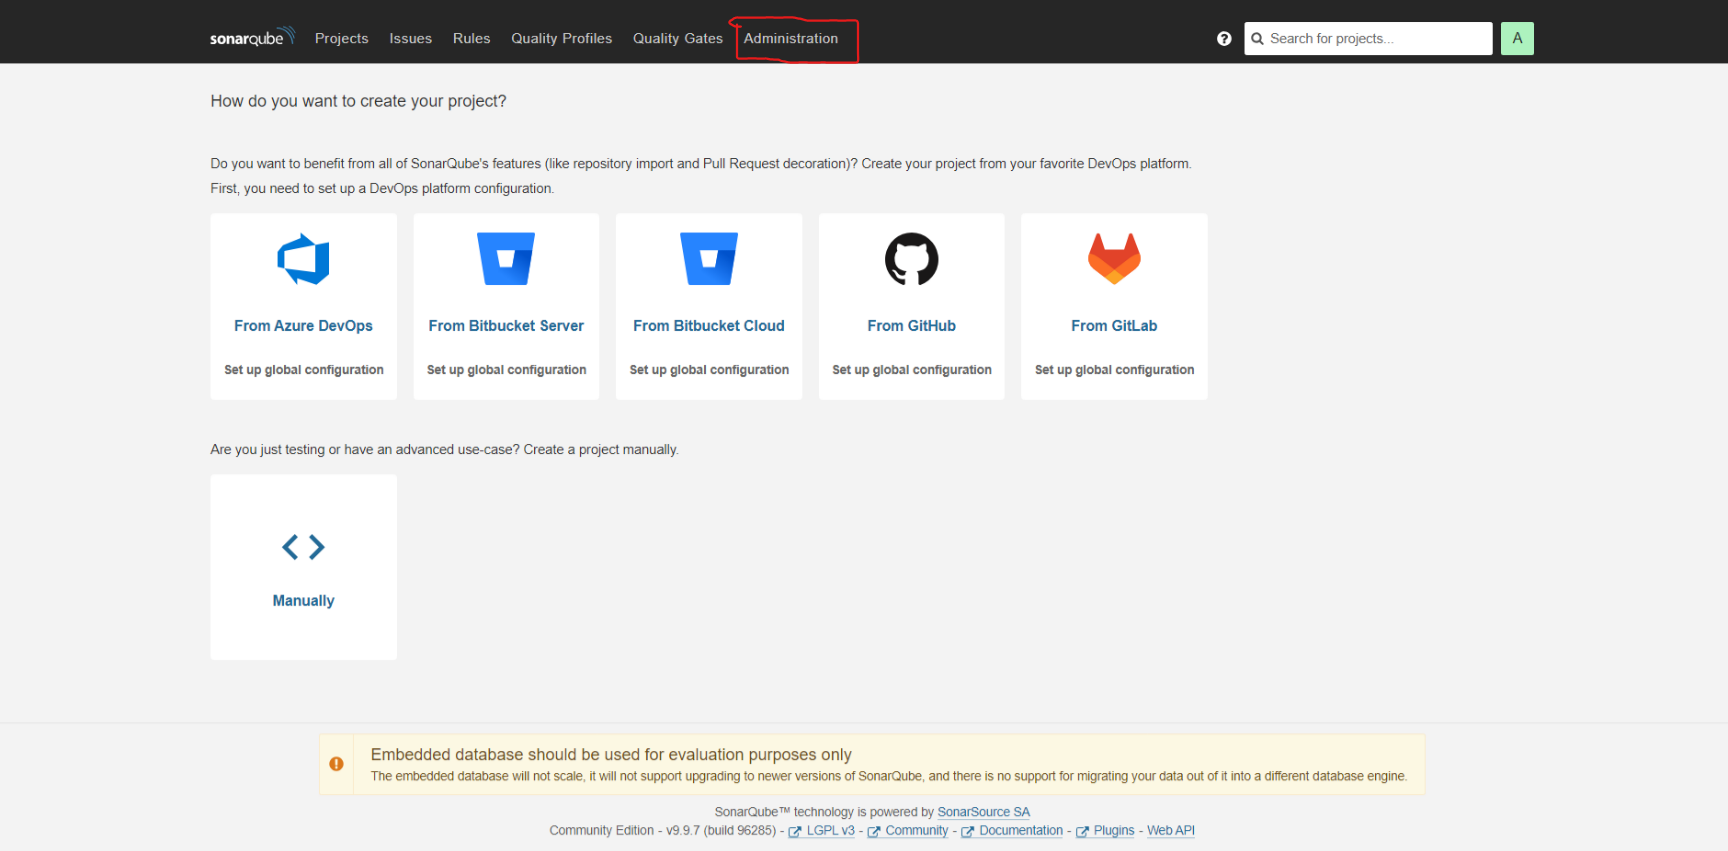
Step 5 - Configure the Jenkins server
Access the Jenkins server by
public-ip:8080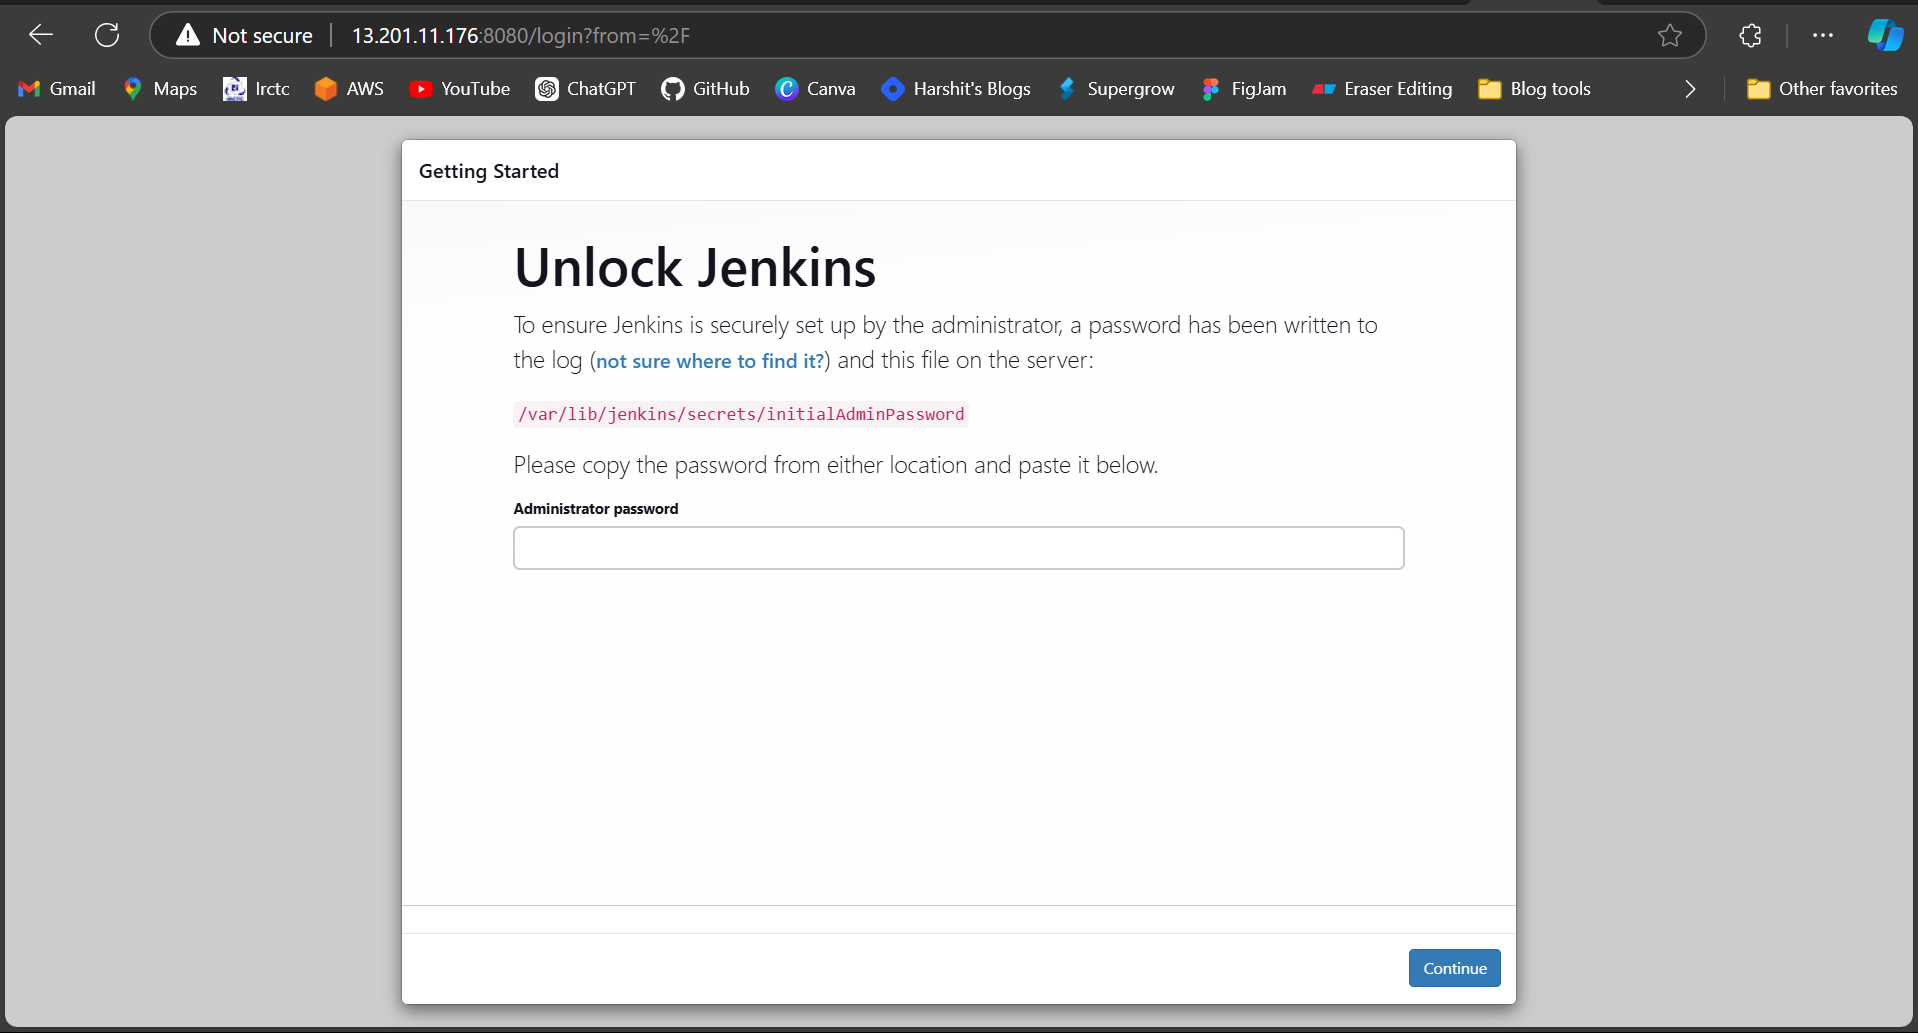
Run the command on the terminal
cat /var/lib/jenkins/secrets/initialAdminPasswordCopy and paste the password on Jenkins
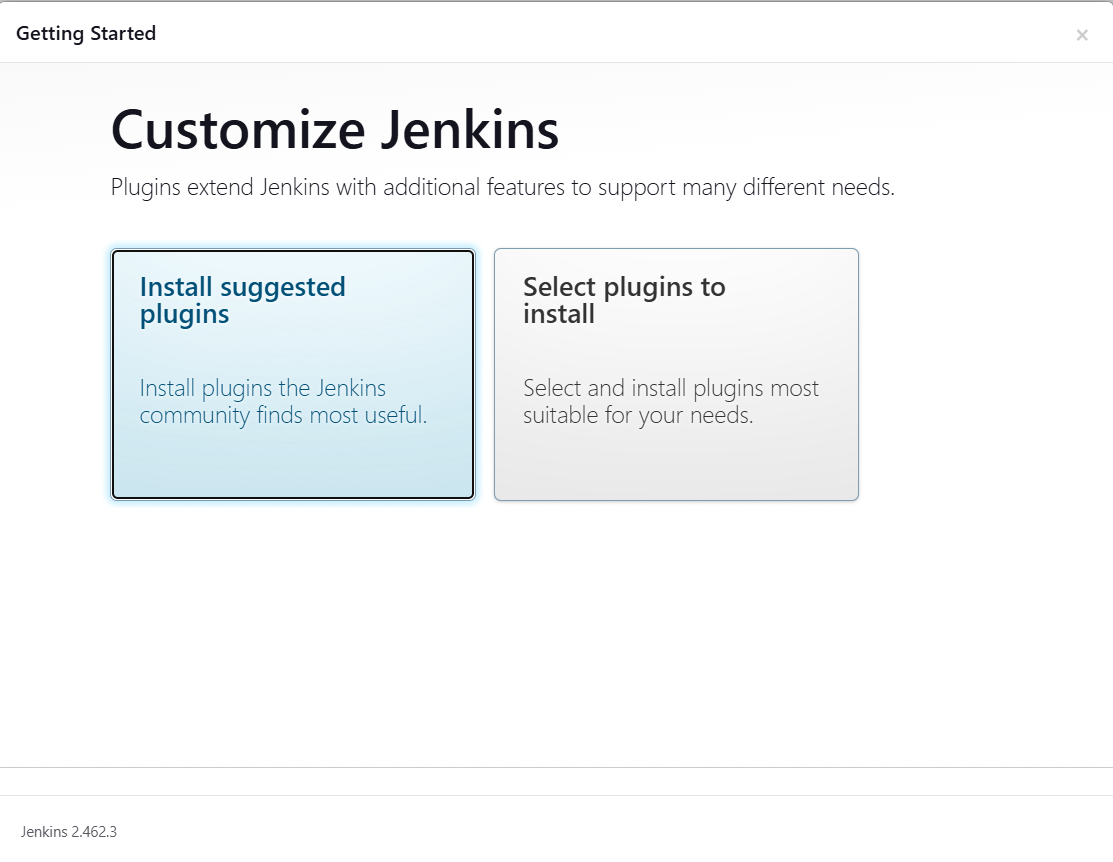
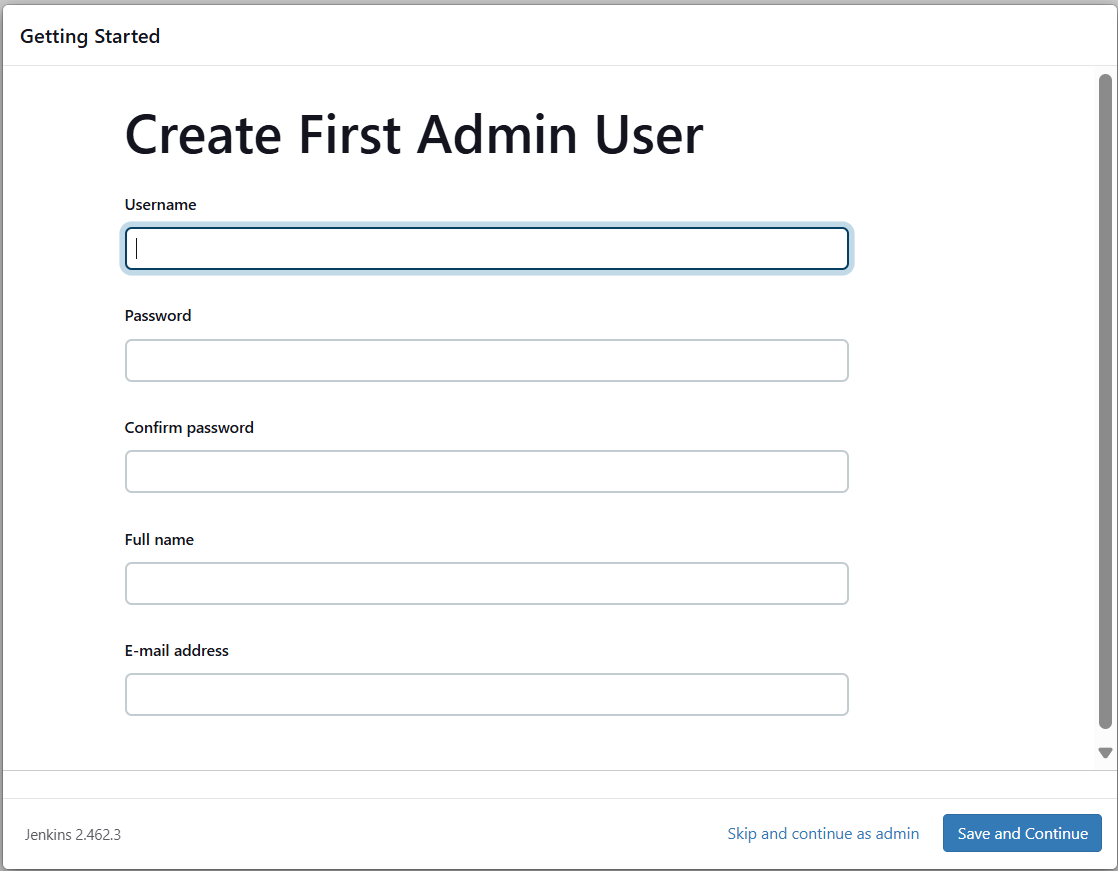
Then Click on Install suggested plugins and after that enter your details in it and finally you move to Jenkins dashboard.
Install some plugins on Jenkins -
Go to
Manage Jenkins→Plugins→Available plugins→ InstallSonarQube Scanner,Docker,Docker Pipeline,docker-build-step,Pipeline: Stage-view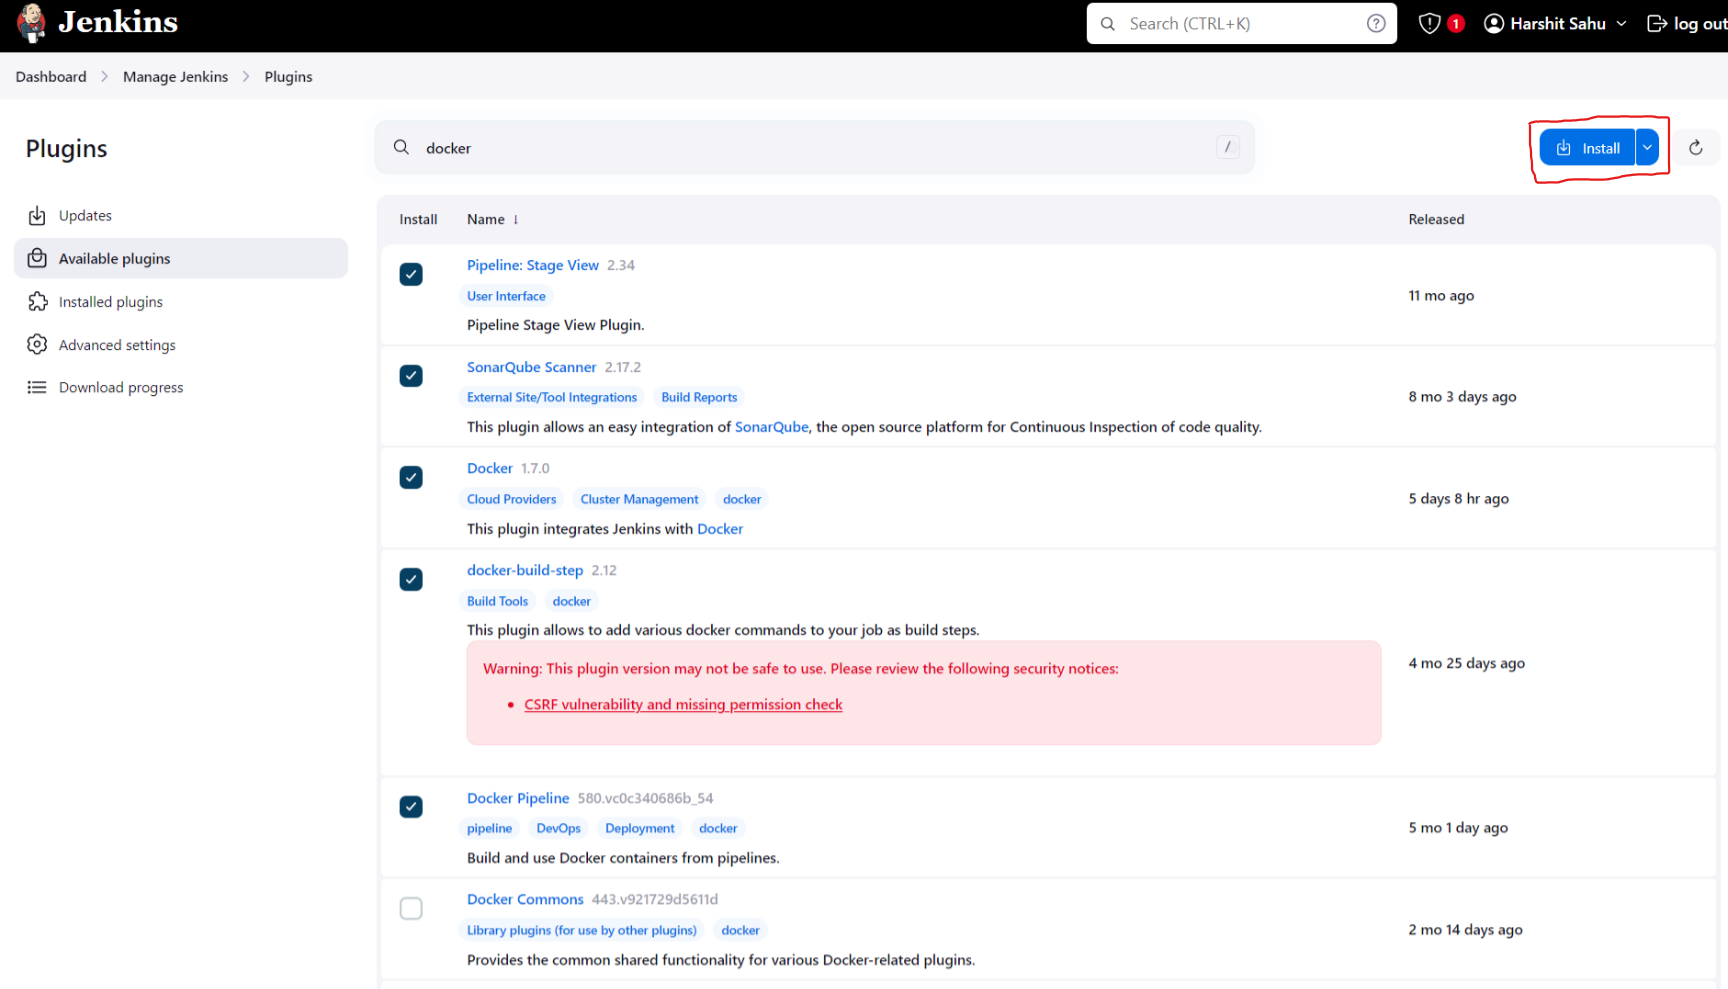
Step 6 - Setup the Trivy for Scanning Image and App
Write the script for installing trivy on your instance
vi trivy.shsudo apt-get install wget apt-transport-https gnupg lsb-release -y wget -qO - https://aquasecurity.github.io/trivy-repo/deb/public.key | sudo apt-key add - echo deb https://aquasecurity.github.io/trivy-repo/deb $(lsb_release -sc) main | sudo tee -a /etc/apt/sources.list.d/trivy.list sudo apt-get update sudo apt-get install trivy -y
give the permissions of executable file to
trivy.shchmod +x trivy.shExecute the script
./trivy.shCheck trivy version
trivy -v
Step 7 - Setup Jenkins Pipeline
Go to
Manage Jenkins→Tools→SonarQube Scanner Installations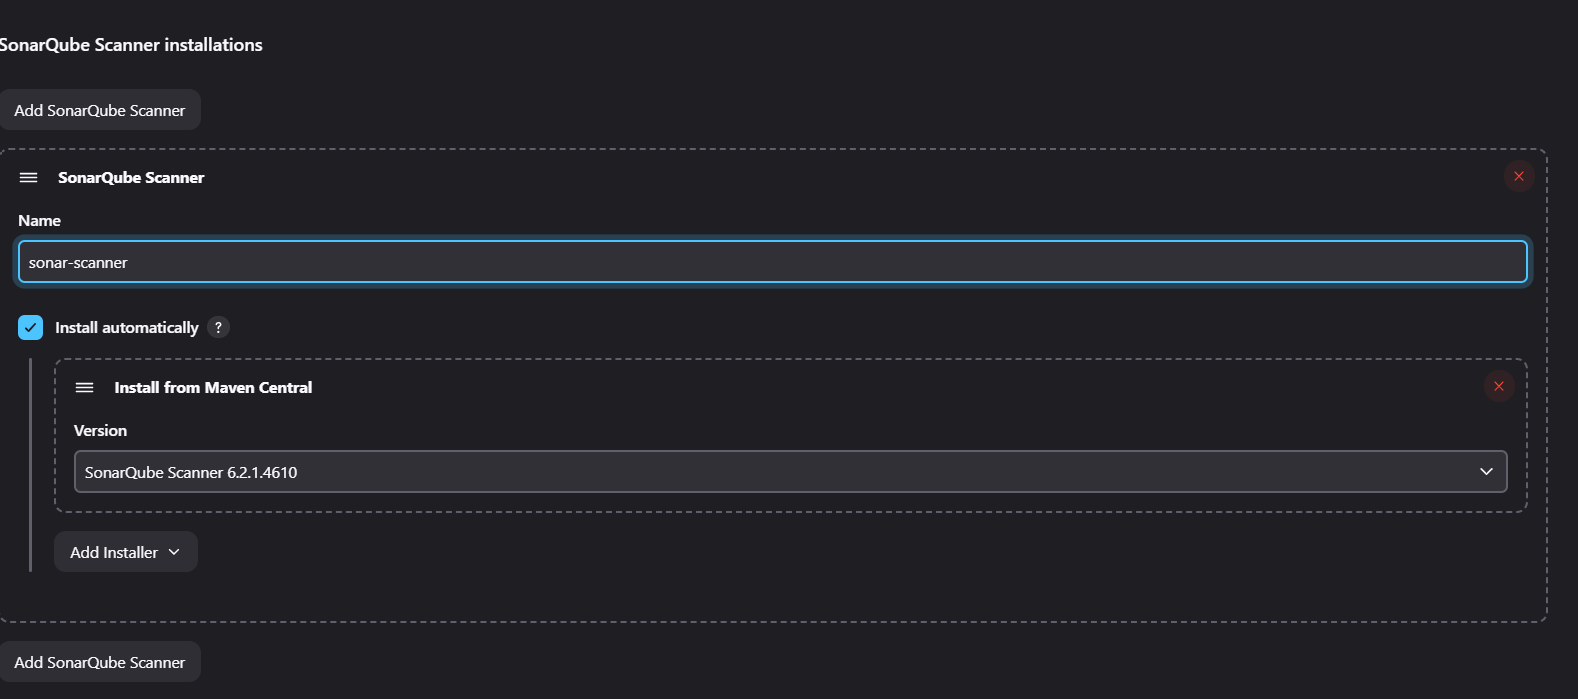
Then
Docker Installations
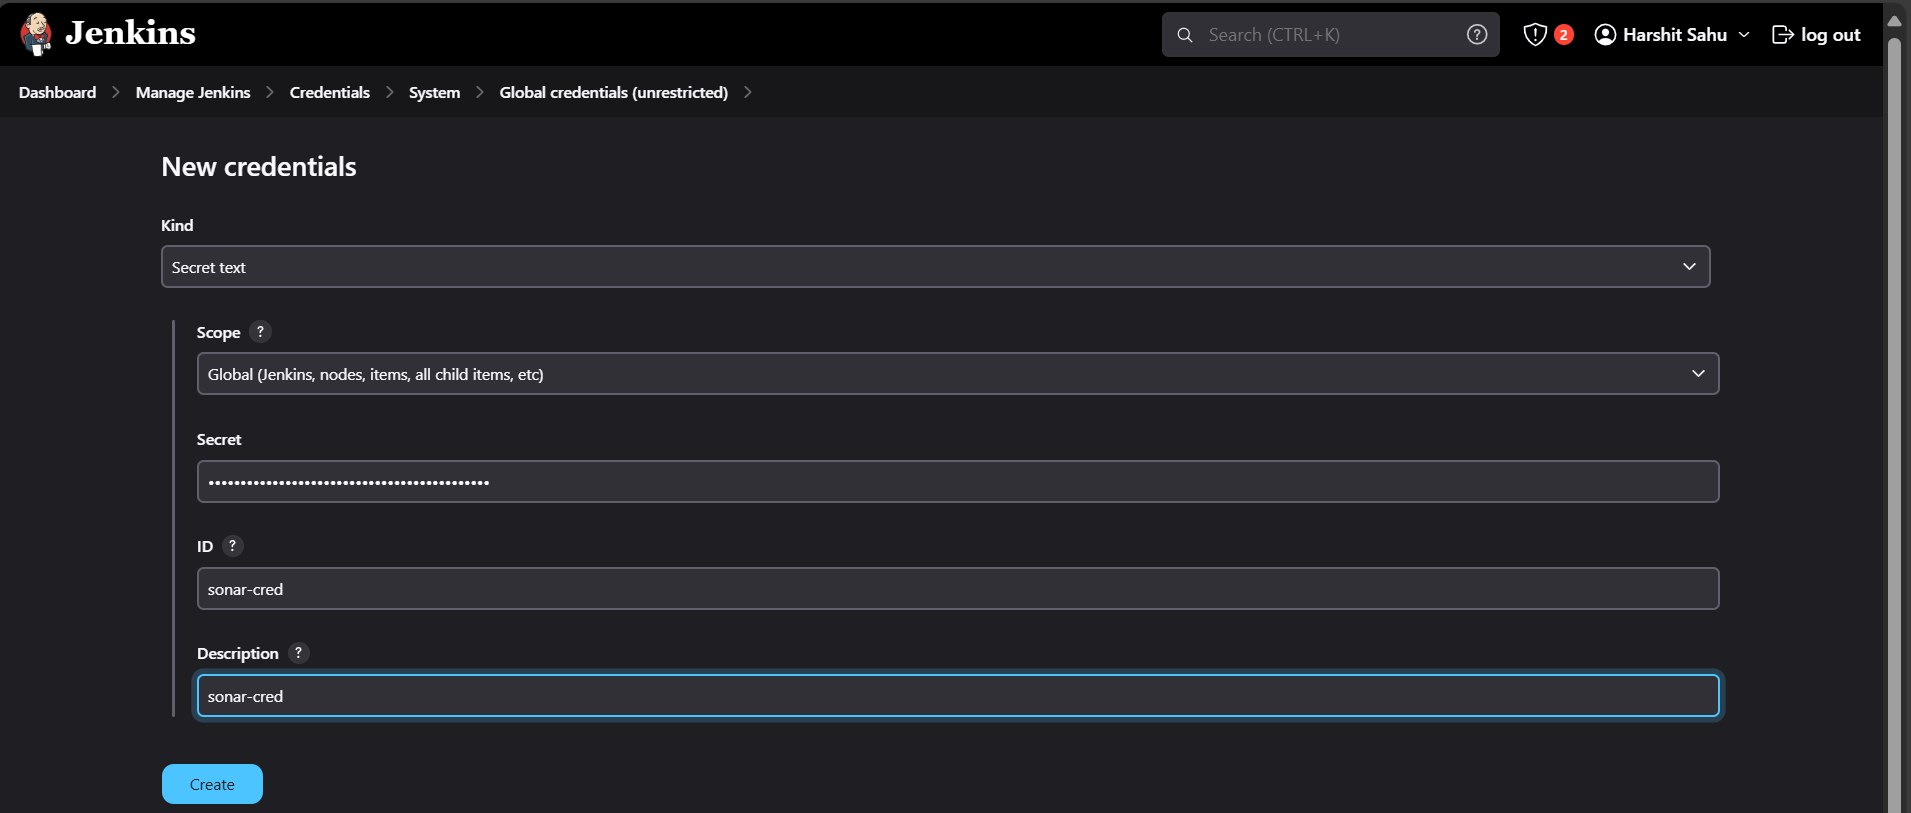
Add credentials of GitHub, SonarQube
Go to
Manage Jenkins→Credentials→Global→Add CredentialsAdd Sonar-cred
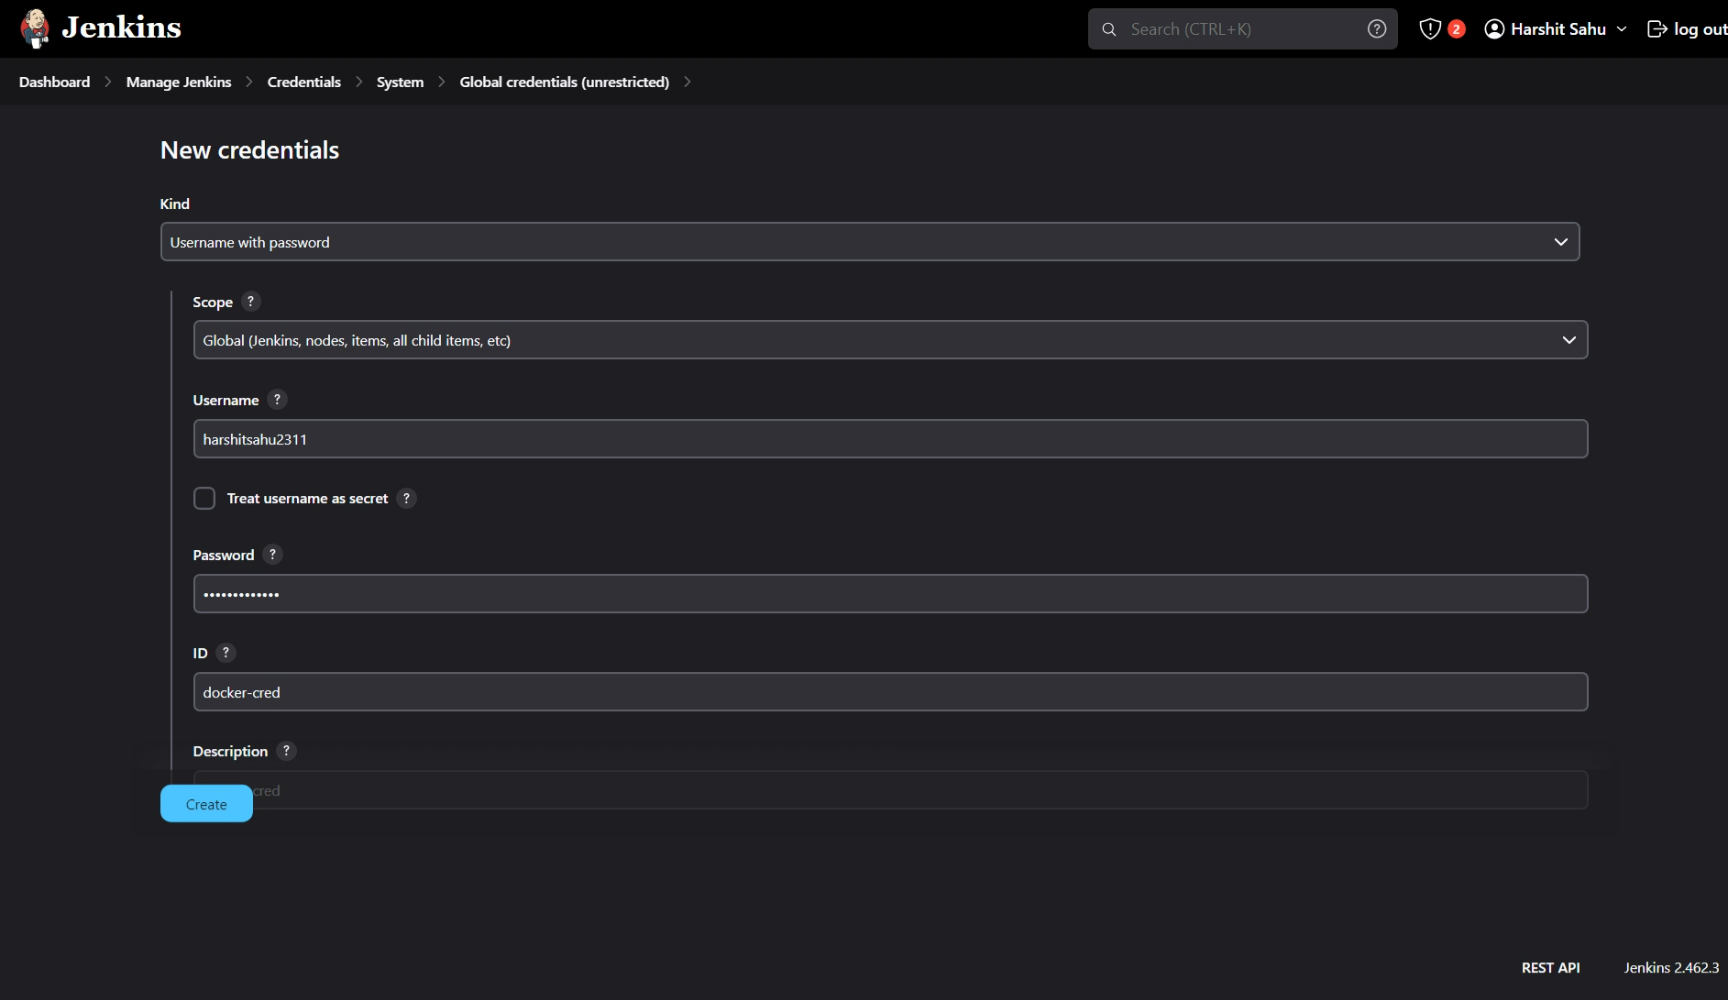
Add Git-cred
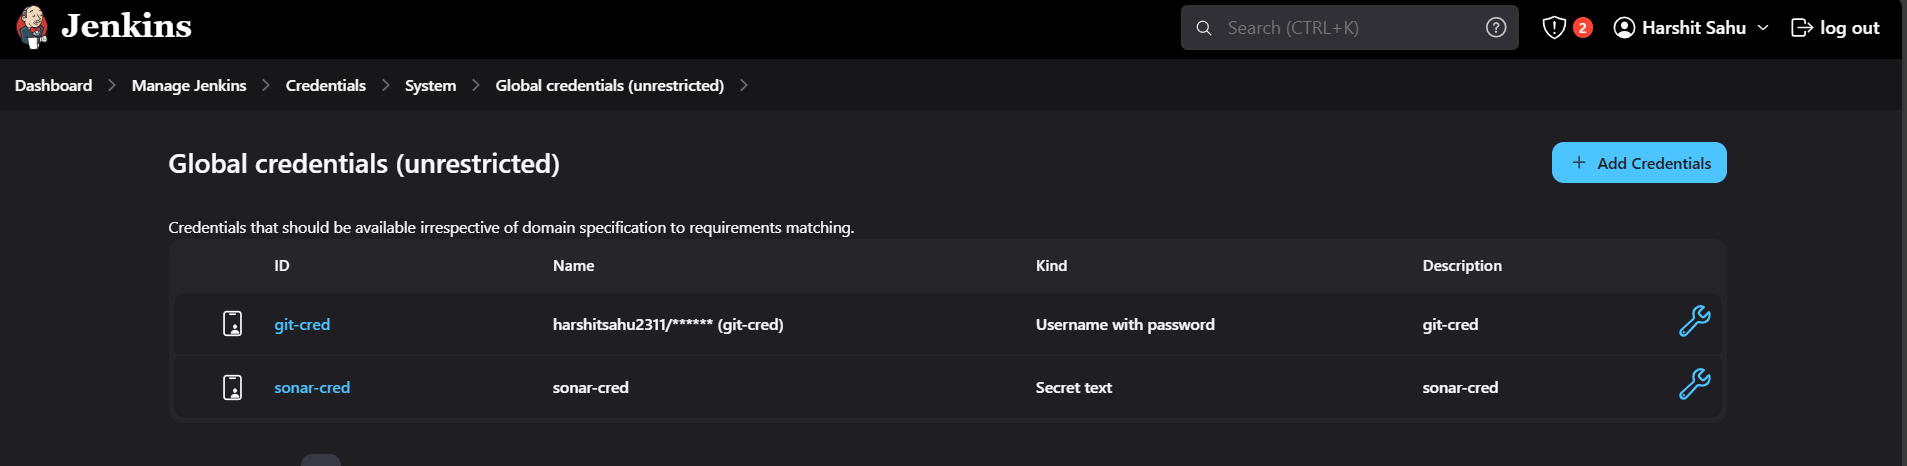
Add Docker-cred
Add SonarQube environment variables
Go to
Manage Jenkins→System→SonarQube Servers→Add SonarQube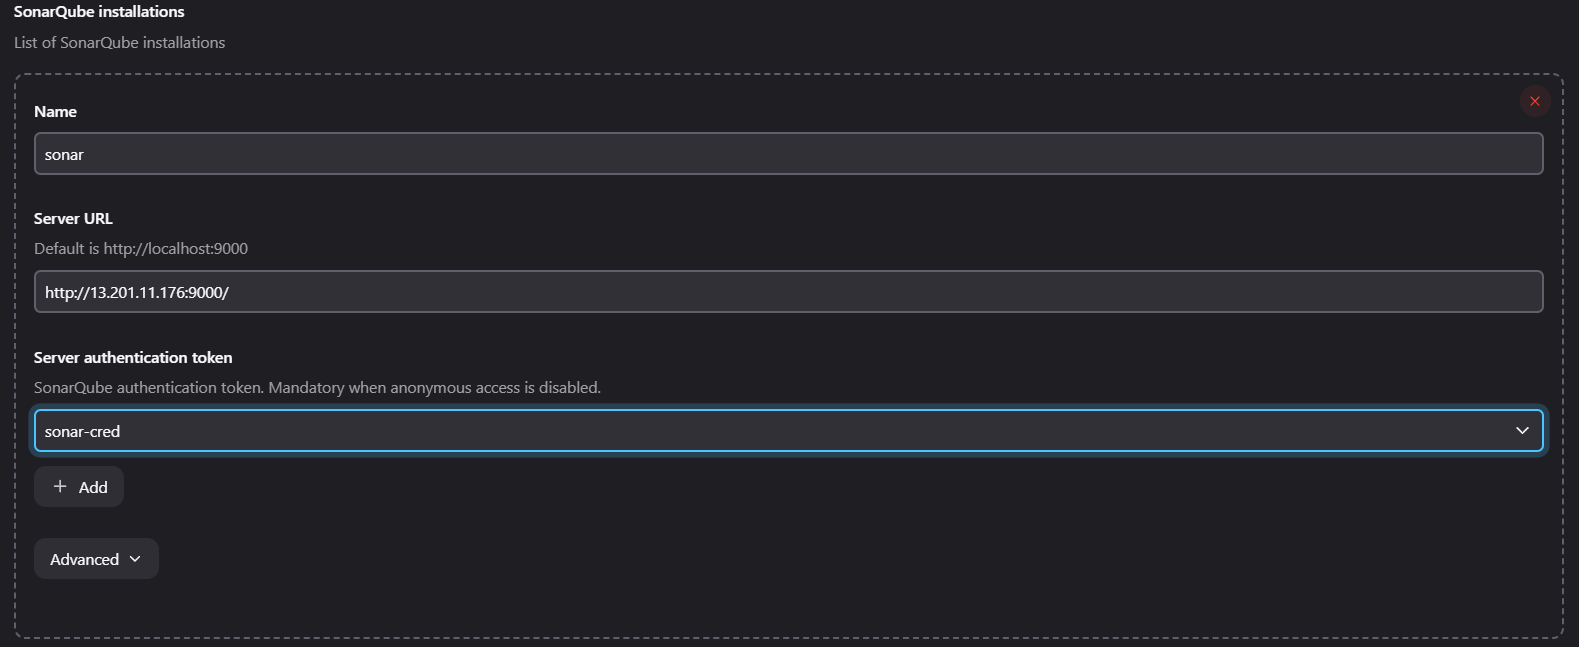
Go to
Dashboard→ Create Job →Name: VALENTINE→ Type:Pipeline→ OK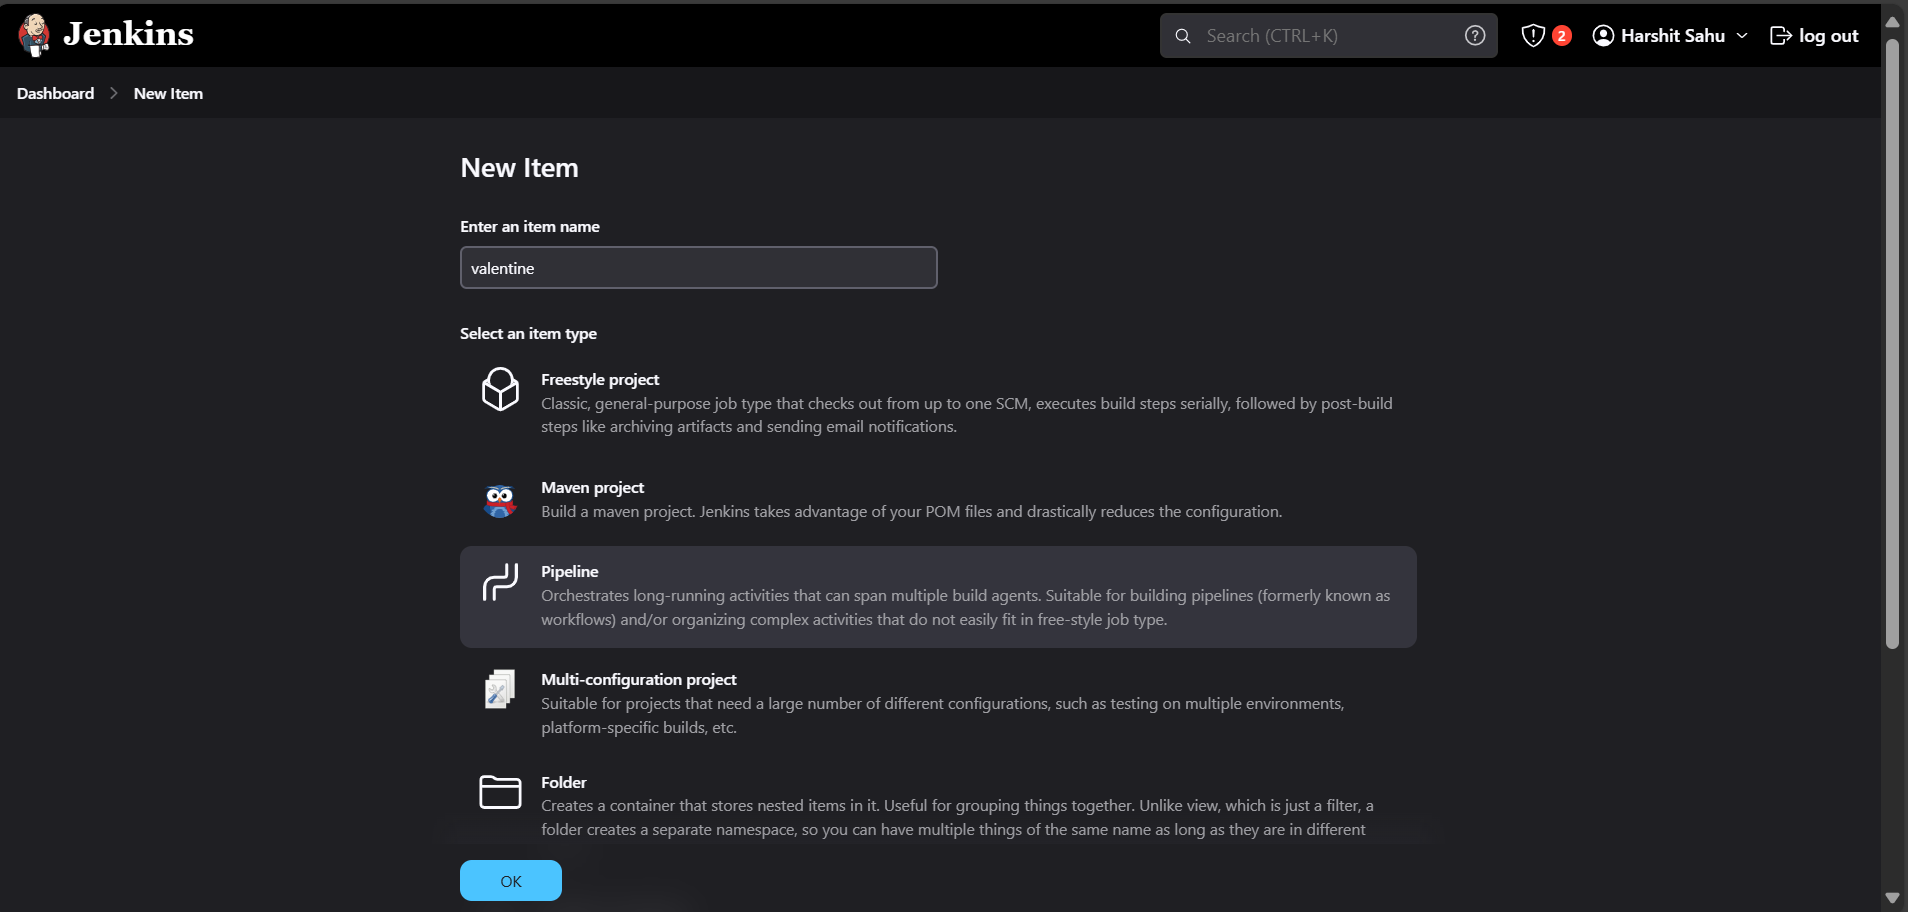
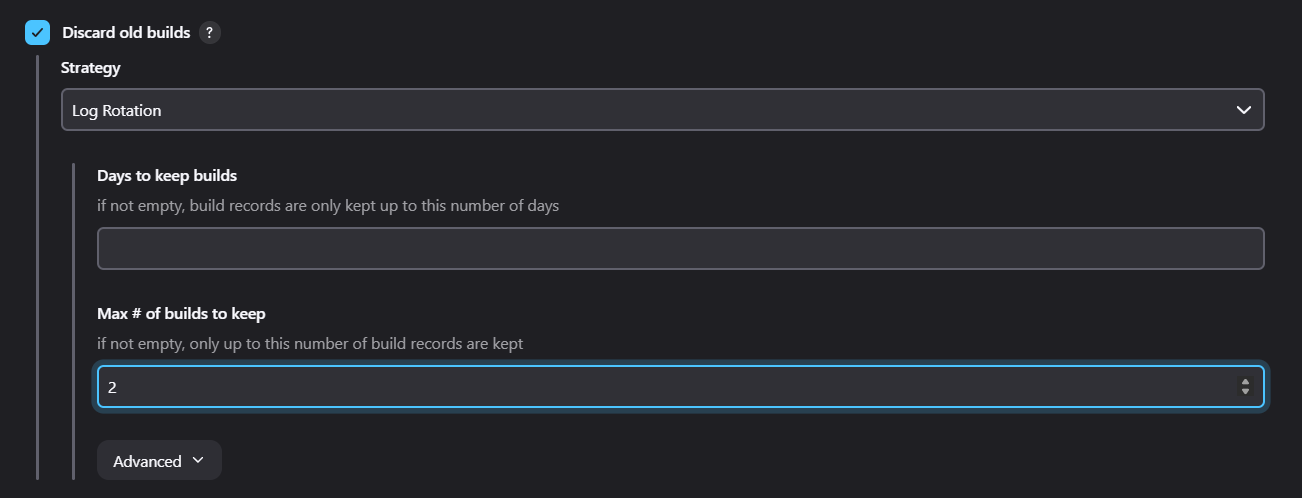
Click on Discard Old build → Max # of build to keep: 2
Now write the pipeline script
  pipeline {
      agent any
      environment{
          SCANNER_HOME= tool 'sonar-scanner'
      }

      stages {
          stage('Git Checkout') {
              steps {
                  git branch: 'main', credentialsId: 'git-cred', url: 'https://github.com/harshitsahu2311/Dating-with-DevOps.git'
              }
          }

          stage('Trivy FileSystem Scan') {
              steps {
                  sh "trivy fs --format table -o trivy-fs-report.html ."
              }
          }

          stage('Sonarqube Analysis') {
              steps {
                  withSonarQubeEnv('sonar'){
                      sh "$SCANNER_HOME/bin/sonar-scanner -Dsonar.projectKey=Valentine -Dsonar.projectName=Valentine"
                  }
              }
          }

          stage('Build & Tag Docker Image') {
              steps {
                  script{
                      withDockerRegistry(credentialsId: 'docker-cred', toolName: 'docker') {
                          sh "docker build -t harshitsahu2311/valentine-devops:v1 ."
                      }
                  }
              }
          }

          stage('Trivy Image Scan') {
              steps {
                  sh "trivy image --format json -o trivy-image-report.json harshitsahu2311/valentine-devops:v1"
              }
          }

          stage('Push Docker Image') {
              steps {
                  script{
                      withDockerRegistry(credentialsId: 'docker-cred', toolName: 'docker') {
                          sh "docker push harshitsahu2311/valentine-devops:v1 "
                      }
                  }
              }
          }

          stage('Deploy to container') {
              steps {
                  sh "docker run -d -p 8081:80 harshitsahu2311/valentine-devops:v1"
              }
          }
      }
  }
For writing scripts, take help of
Pipeline SyntaxGo to Pipeline Syntax → Click on
Sample textand Selectgit: Git→ Paste the URL of the repository → Select branchmain→ Choose credentials ofgit→ Generate Script. Copy and paste it stage (“Git Checkout”).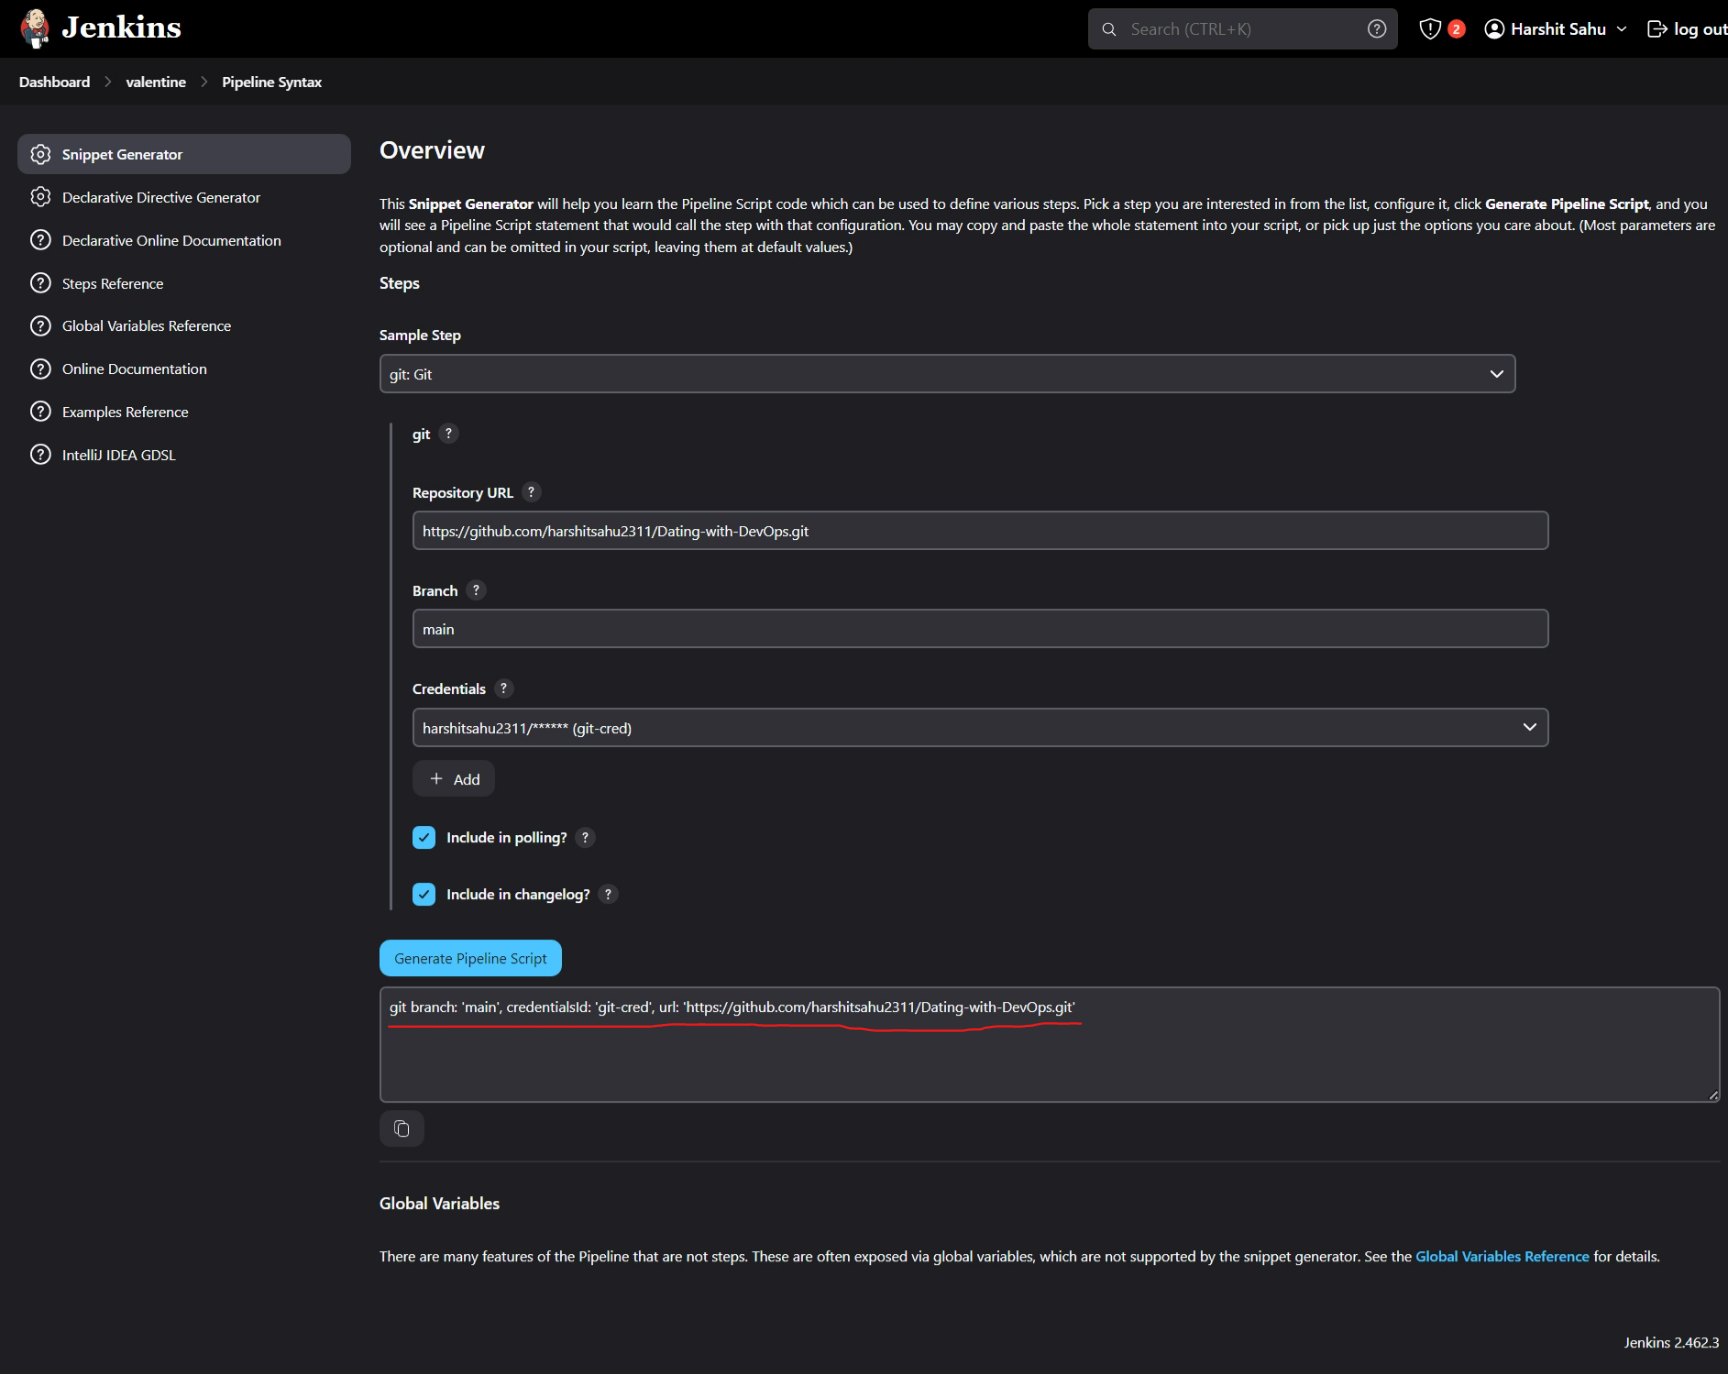
Similarly Create Scripts for each stage using Pipeline Syntax.
Click on
Applyand thenBuild Now.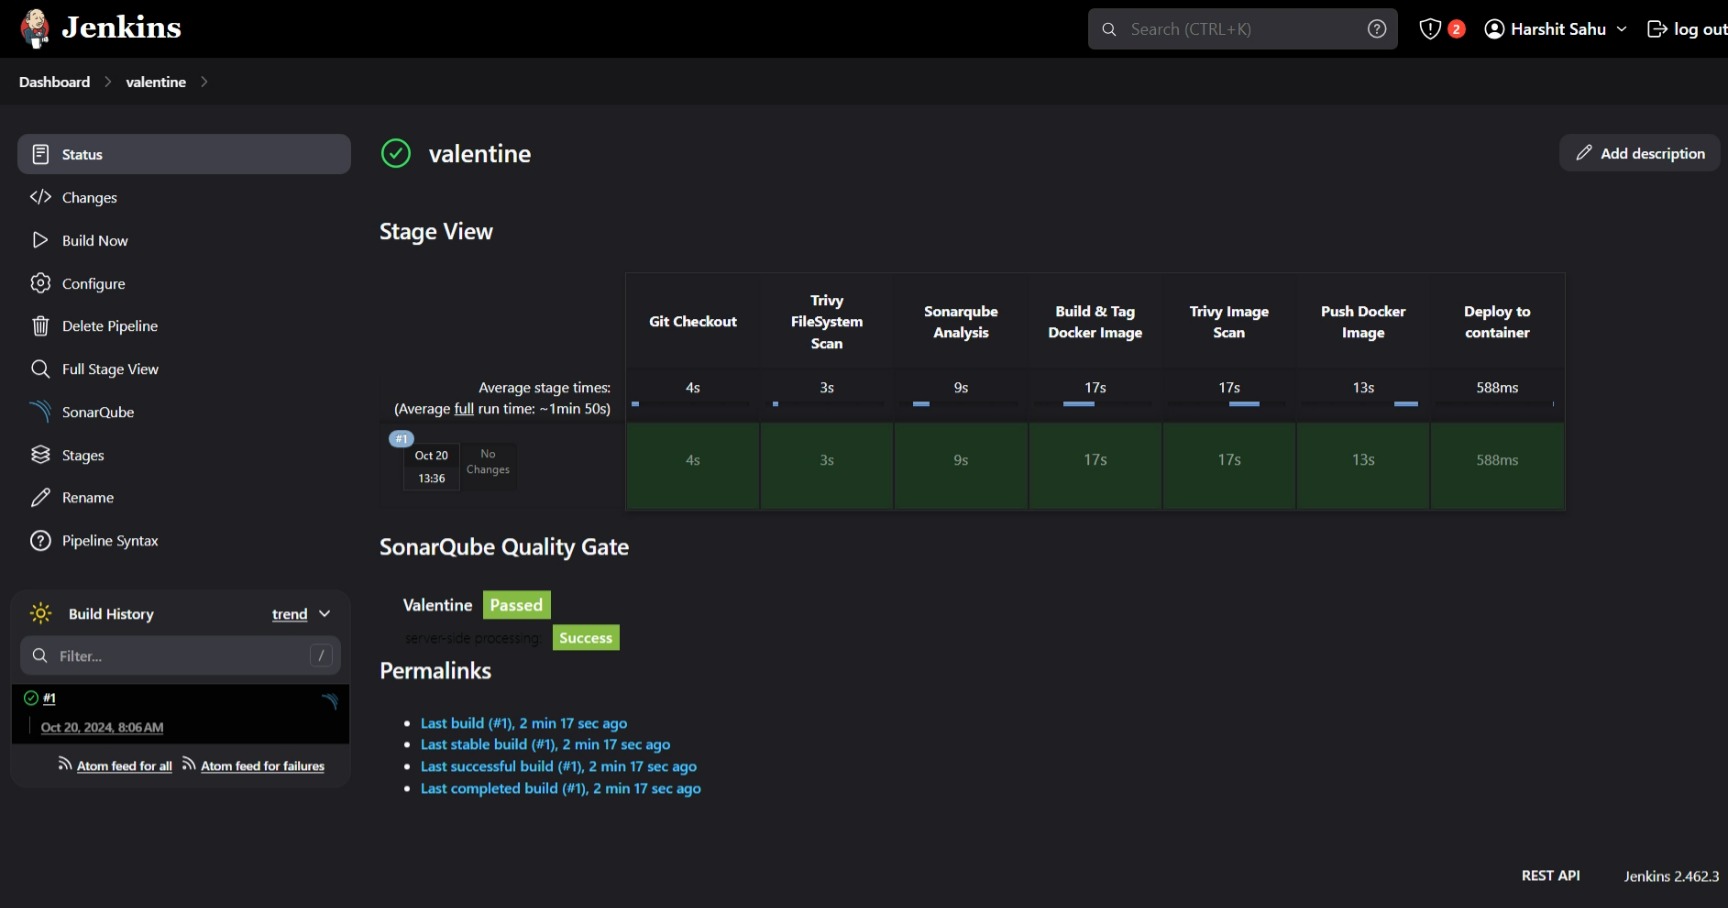
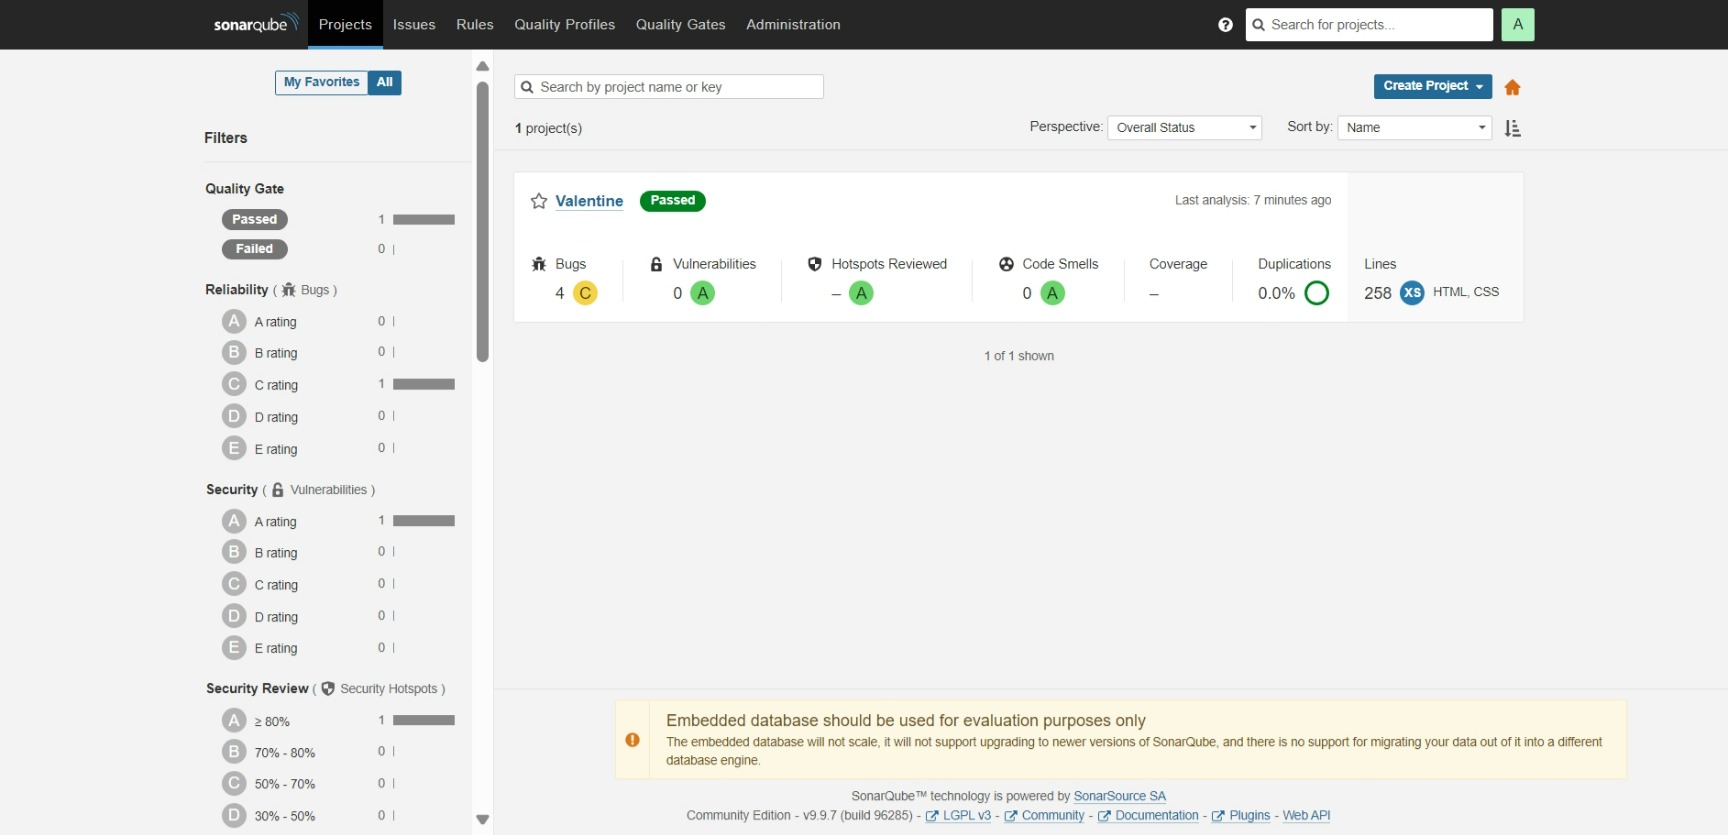
Now access it with the public-ip:8081/yes.html

If you like the project, then you can say YES 😂😂.


CONGRATULATIONS!!
You can SonarQube Server and Check the details.